How to Scan and Preserve Old Family Photos
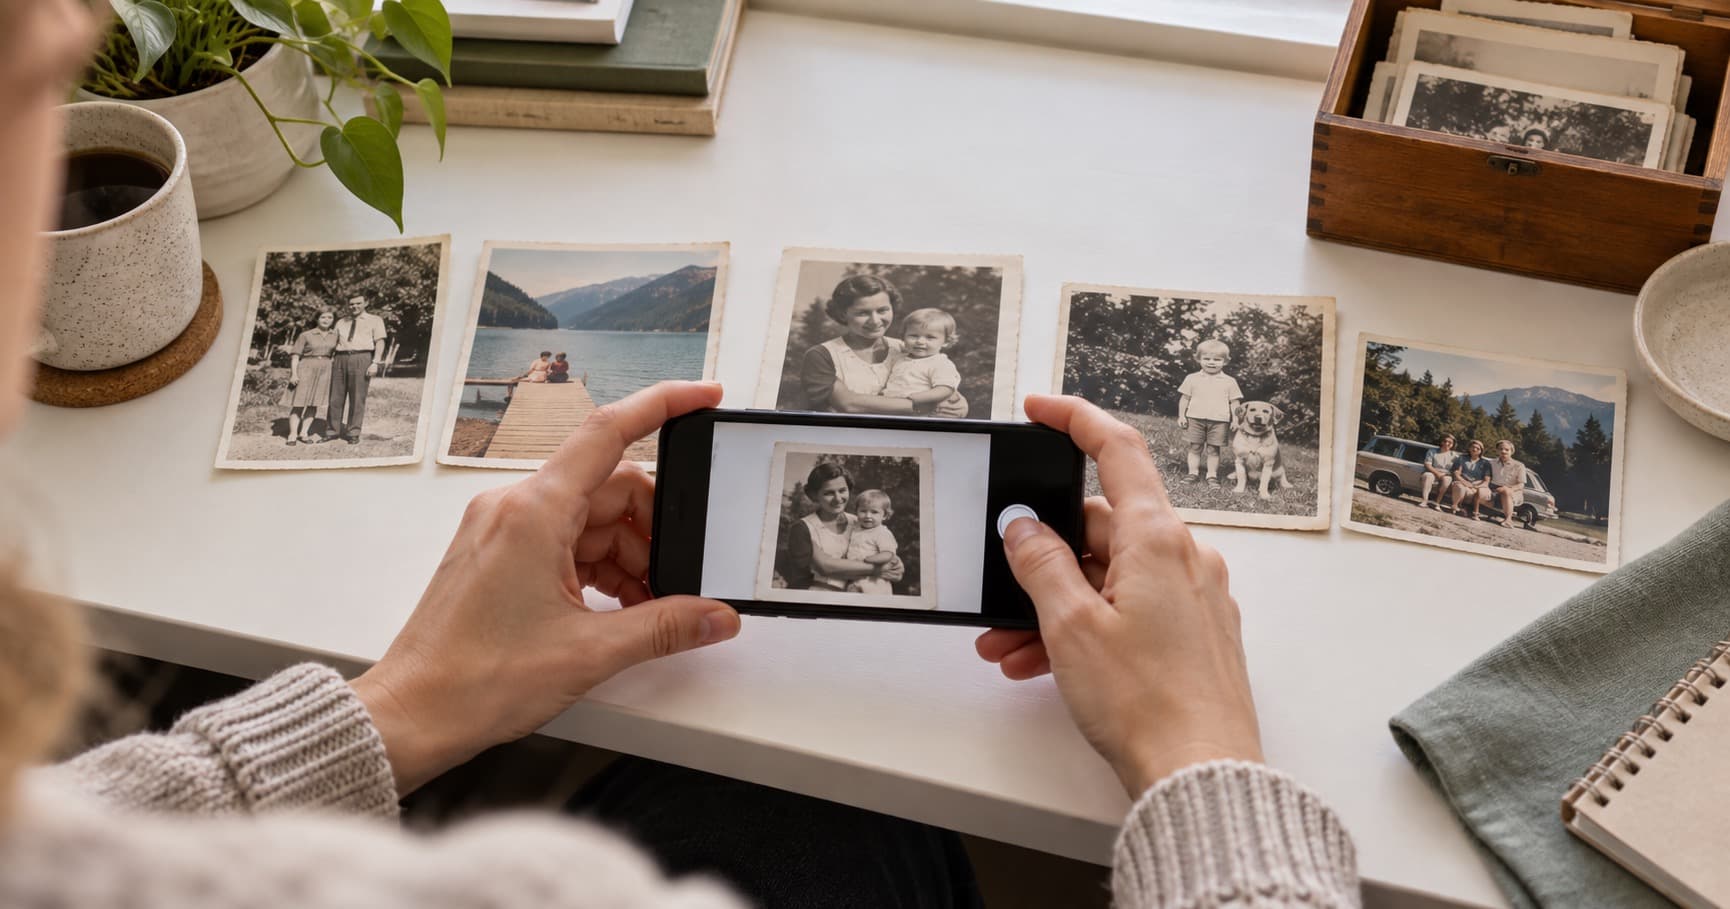
A box of old photos can stay untouched for years because the project feels too large. You do not need a perfect archive plan or expensive equipment to begin. You need a small batch, good light, and a safe place for the copies.
Do You Need a Scanner, or Will Your Phone Do?
For most family prints, a modern phone camera is enough. Use bright, indirect light, turn off the flash, and place the phone directly above the photo. Keep the lens parallel to the print so faces and edges do not stretch.
A flatbed scanner is useful for very old or fragile prints, or when you have hundreds of similar photos to capture. It gives you repeatable framing and can make high-resolution files. It also takes more time to set up and organize.
The best method is the one you will use. A clear phone photograph today is better than a perfect scan that never happens.
Organizing Before You Digitize
Start with ten to twenty photos. Sort them by decade, event, or family branch. Do not stop to identify every person before you begin. Add a simple note such as “summer trip, probably 1968” and keep moving.
Create separate piles for clean prints, damaged prints, and photos that need a closer look. This makes restoration easier to track. It also prevents a badly damaged print from slowing down the whole first session.
Use file names that will still make sense later. A pattern such as `1968-summer-trip-001` is more useful than `IMG_1042`.
Photograph Each Print Carefully
Clean the phone lens and place the print on a flat surface. Use two lights from opposite sides if the room is dim, or use soft window light. Avoid a strong light directly above a glossy print because glare can hide faces and writing.
Shoot straight on. Check that the full print is in frame and that no fingers cover the edges. Take one test image and zoom in before you continue with the batch.
Keep the untouched digital copy. Do not overwrite it with a cropped, colorized, or restored version.
Restore as You Go
Digitizing is the right moment to decide what needs repair. You already have the photo in front of you, so mark damaged files while the context is fresh. Faded color, scratches, stains, and low contrast are easier to manage when the work is grouped in a batch.
PhotoHeirloom handles restoration and colorization after upload. You can compare the result with the original file and keep both versions in a private family album.
Where to Keep Digitized Photos So They Are Safe
A phone is not a backup. A single laptop is not a backup either. Devices are lost, damaged, replaced, and forgotten. Keep at least two copies in different places.
An organized private album adds another benefit: the archive is not trapped on one relative's device. Family members can view the collection, add context, and share memories without passing one hard drive around.
What to Do With the Physical Originals
After digitizing, store prints in acid-free sleeves or boxes. Keep them away from direct light, high humidity, and hot attics. Do not use rubber bands, tape, or ordinary newspaper for long-term storage.
The digital copy does not make the original disposable. It gives the family a reliable working copy for sharing and a safety net if the print is damaged later.
Start with ten photos. That is enough to create momentum and learn what works for your family archive.
Create a free PhotoHeirloom account and preserve your first photos