3 Mistakes People Make Scanning Old Photos
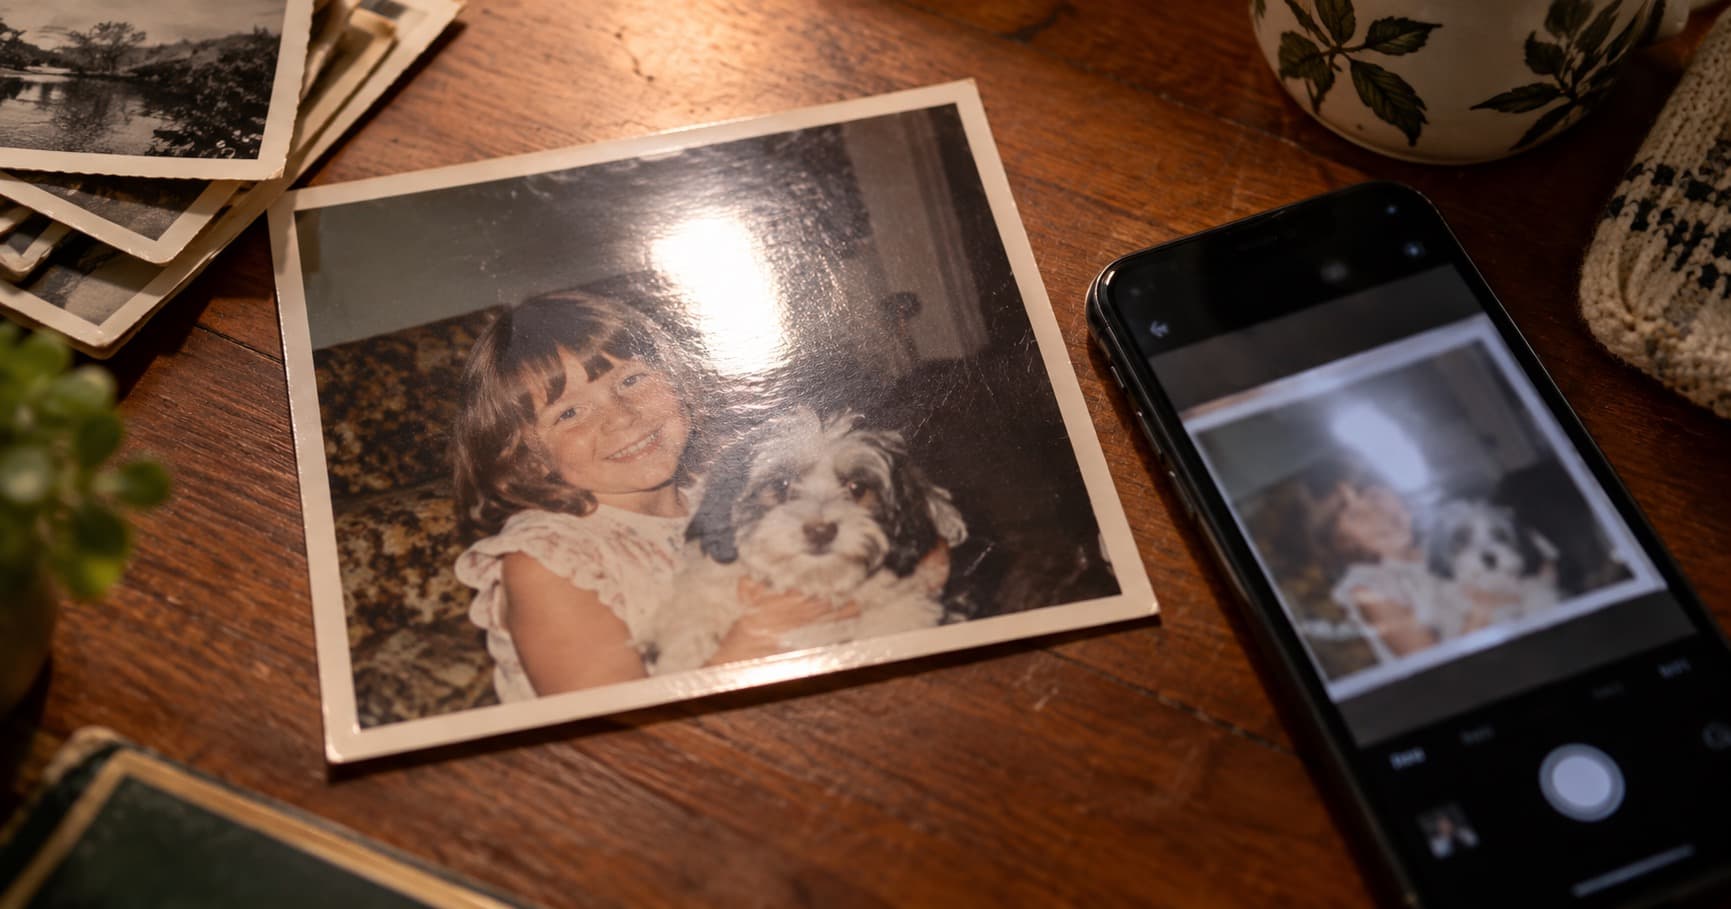
Digitizing old photos should be simple, but a few small mistakes can leave you with files that need to be captured again. The good news is that most problems are easy to prevent.
Mistake #1: Using Flash or Harsh Direct Light
Flash creates bright hotspots on glossy prints. Strong overhead light can do the same thing, and it may hide scratches, faces, or handwriting under glare.
Use soft window light or two lamps placed to the sides. Take a test image and zoom in before you photograph the rest of the batch. If the print looks shiny, move the light rather than increasing the camera exposure.
Mistake #2: Photographing at an Angle
An angled photo makes a rectangle look like a trapezoid. Curled prints can also make faces and text look stretched. Restoration tools can correct some distortion, but they work better when the source is already straight.
Place the photo flat and shoot directly above it. Use a small stand or stack of books to keep the phone steady. Leave the edges visible so you can crop the image later without cutting into the original.
Mistake #3: Skipping a Before Photo of Severe Damage
For a badly torn, stained, or water-damaged print, take a quick record photo before you handle it. This gives you a reference for the original condition and helps you notice which changes came from physical handling or digital restoration.
Keep that record with the untouched scan. It is especially useful when several relatives remember the photo differently or when a missing detail matters to the family story.
Tips for Photographing Photos with Your Phone
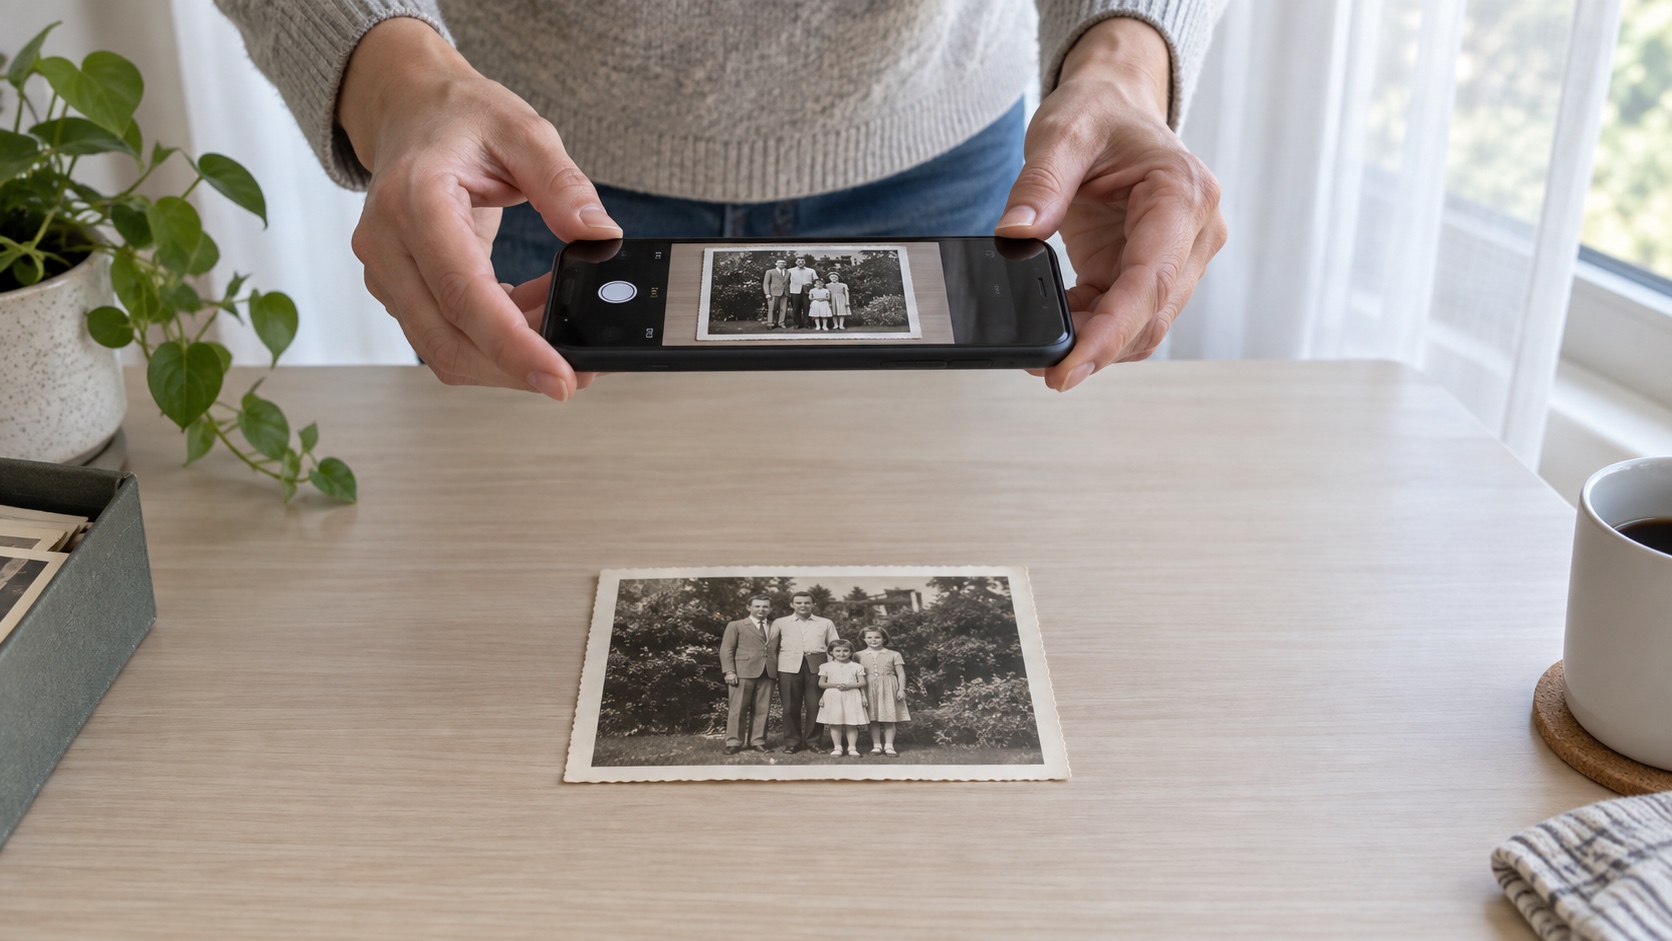
Hold the phone parallel to the print. Use bright, indirect light and keep all four corners in the camera view.
If you are using your phone instead of a flatbed scanner, use these tips before you upload the image to PhotoHeirloom:
- Clean the phone lens with a soft, dry cloth.
- Turn off the flash and use soft, even light from a window or lamps placed to the sides.
- Put the original photo on a flat surface and hold the phone parallel to it.
- Keep all four edges visible, with a small amount of space around the photo.
- Tap the photo on your screen to focus, then lower the exposure if the paper looks too bright.
- Hold the phone steady or rest it on a small stand to prevent blur.
- Use the highest image quality available and do not send a screenshot or a compressed messaging-app copy.
- Check the image at full size before uploading. Look for glare, blur, cut-off edges, and shadows.
- Photograph one original at a time and keep the untouched phone image as your backup.
The Good News
A re-shoot fixes most lighting and angle problems. AI restoration can also compensate for many small flaws in a digital copy, such as mild fading or low contrast. It cannot reliably recreate every missing face or word, so a careful original capture still matters.
You do not need a studio. You need even light, a straight camera, and a copy of the original file.
Already scanned or photographed your old photos? Try restoring one with PhotoHeirloom.